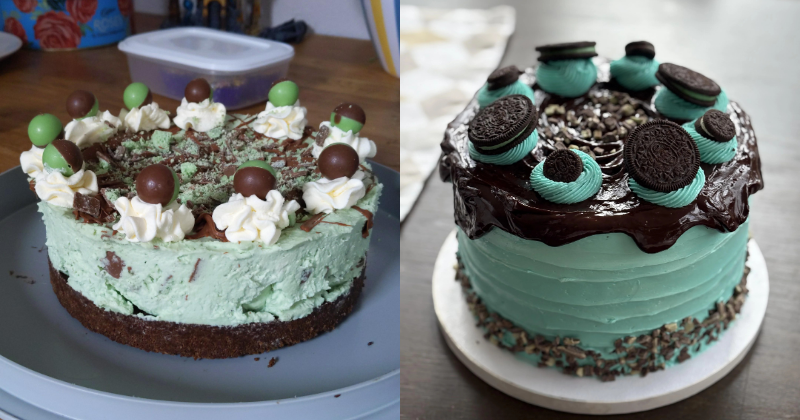
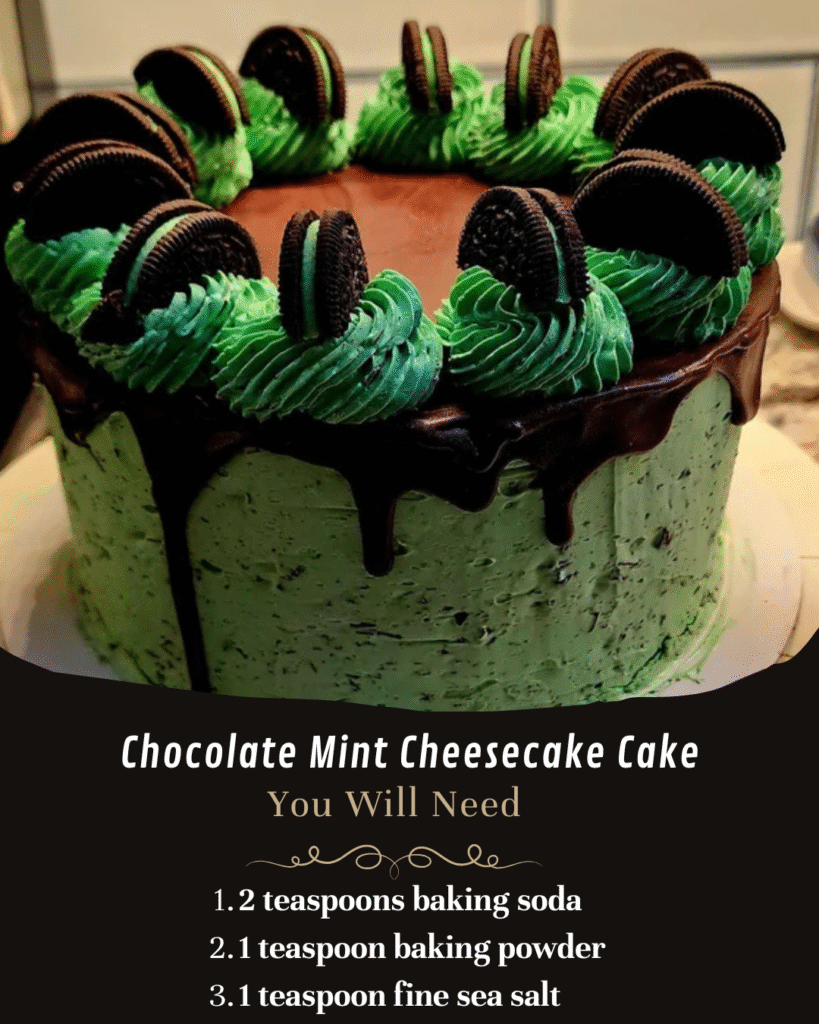
This Chocolate Mint Cheesecake Cake represents the pinnacle of dessert craftsmanship, where rich chocolate layers embrace a silky mint-infused cheesecake center. The combination delivers an extraordinary sensory experience that transforms any gathering into a memorable celebration. This layered creation demands attention to detail and patience, yet rewards you with a stunning dessert that balances the deep intensity of chocolate with the refreshing brightness of mint. Whether you’re planning an elegant dinner party or seeking to master an impressive showstopper, this recipe will guide you through each critical step with the precision required for success.
The marriage of chocolate and mint has captivated palates for generations, and this cake elevates that classic pairing to new heights. Unlike simple chocolate mint desserts, this three-layer construction creates textural contrast and flavor complexity that unfolds with each forkful.
What Makes This Recipe Worth Your Time
The Chocolate Mint Cheesecake Cake stands apart from conventional layered desserts through its architectural ambition and flavor sophistication. This recipe combines two beloved desserts into one spectacular creation, requiring intermediate baking skills and approximately 4-5 hours from start to finish, including essential chilling time.
Difficulty Level: Intermediate to Advanced
Time Commitment: 1 hour 30 minutes active preparation, 3 hours chilling
Ideal Occasions: Holiday celebrations, milestone birthdays, dinner party finales, or any moment deserving culinary drama
The technical challenge lies in coordinating three distinct components—chocolate cake layers, cheesecake filling, and finishing touches—each demanding specific techniques. The reward, however, justifies every careful step: a dessert that commands attention and delivers unforgettable flavor.
Ingredients
For the Chocolate Cake Layers:
- 2 cups (250g) all-purpose flour
- 2 cups (400g) granulated sugar
- ¾ cup (75g) Dutch-process cocoa powder
- 2 teaspoons baking soda
- 1 teaspoon baking powder
- 1 teaspoon fine sea salt
- 2 large eggs, room temperature
- 1 cup (240ml) strong brewed coffee, cooled
- 1 cup (240ml) buttermilk, room temperature
- ½ cup (120ml) vegetable oil
- 1 tablespoon pure vanilla extract
For the Mint Cheesecake Layer:
- 24 ounces (680g) cream cheese, fully softened
- ¾ cup (150g) granulated sugar
- 3 large eggs, room temperature
- ⅓ cup (80ml) heavy cream
- 1½ teaspoons pure peppermint extract
- 3-4 drops green food coloring (optional)
- Pinch of salt
For the Chocolate Ganache:
- 1½ cups (270g) semi-sweet chocolate chips
- ¾ cup (180ml) heavy cream
- 2 tablespoons unsalted butter
For Garnish:
- Fresh mint leaves
- Crushed peppermint candies or chocolate shavings
- Additional whipped cream (optional)
Step-by-Step Instructions
Preparation of Chocolate Cake Layers:
- Preheat your oven to 350°F (175°C). Prepare two 9-inch round cake pans by greasing thoroughly and lining the bottoms with parchment paper circles.
- Sift together the flour, sugar, cocoa powder, baking soda, baking powder, and salt into a large mixing bowl. This sifting step eliminates lumps and aerates the dry ingredients, creating a finer crumb structure.
- In a separate bowl, whisk together the eggs, cooled coffee, buttermilk, oil, and vanilla extract until completely smooth and emulsified.
- Create a well in the center of your dry ingredients and pour the wet mixture in gradually, stirring gently with a wooden spoon or spatula. Mix until just combined—the batter will appear quite thin, almost pourable like heavy cream. This consistency is intentional and produces exceptionally moist cake layers.
- Divide the batter evenly between your prepared pans, using a kitchen scale for precision if possible.
- Bake for 30-35 minutes, rotating pans halfway through for even cooking. The cakes are ready when a toothpick inserted into the center emerges with just a few moist crumbs clinging to it.
- Allow cakes to cool in their pans for 15 minutes, then turn out onto wire racks to cool completely. Patience here prevents structural collapse.
Creating the Mint Cheesecake Layer:
- Reduce oven temperature to 325°F (163°C). Prepare a 9-inch springform pan with the same greasing and parchment technique.
- Beat the softened cream cheese with an electric mixer on medium speed for 2-3 minutes until completely smooth and fluffy, with no lumps remaining. Scrape down the bowl frequently.
- Add sugar and continue beating for another 2 minutes until the mixture lightens slightly in color and texture.
- Incorporate eggs one at a time, beating on low speed after each addition just until the yellow disappears. Overbeating at this stage introduces excess air that can cause cracking.
- Pour in the heavy cream, peppermint extract, food coloring if using, and salt. Mix on the lowest speed for 30 seconds until just combined.
- Pour the cheesecake batter into your prepared springform pan and smooth the top with an offset spatula.
- Bake for 45-50 minutes. The cheesecake is properly baked when the edges are set but the center still jiggles slightly when gently shaken—approximately a 2-inch diameter circle of movement.
- Turn off the oven, crack the door open slightly, and allow the cheesecake to cool inside for 1 hour. This gradual temperature change prevents surface cracks.
- Remove from oven and refrigerate for at least 3 hours or overnight until completely firm.
Assembly and Finishing:
- Once all components are completely cooled, level your chocolate cake layers if necessary using a serrated knife or cake leveler, creating flat, even surfaces.
- Place the first chocolate cake layer on your serving plate or cake stand.
- Carefully remove the chilled cheesecake from its springform pan and place it directly onto the first chocolate layer. The cheesecake should fit perfectly within the diameter of the cake layers.
- Top with the second chocolate cake layer, pressing down very gently to ensure stability.
- For the ganache, heat the heavy cream in a small saucepan until it just begins to simmer. Pour over the chocolate chips and butter in a heatproof bowl. Let stand for 2 minutes, then stir slowly from the center outward until completely smooth and glossy.
- Allow ganache to cool for 10-15 minutes until it thickens slightly but remains pourable. Pour over the top of the assembled cake, using an offset spatula to encourage it to drip elegantly down the sides.
- Garnish with fresh mint leaves, crushed peppermint, or chocolate shavings while the ganache is still slightly tacky.
- Refrigerate the completed Chocolate Mint Cheesecake Cake for at least 1 hour before slicing to allow the ganache to set properly.
Tips and Tricks for Perfection
Ingredient Temperature Matters: Room temperature ingredients emulsify more effectively, creating smoother batters and preventing lumps. Remove cream cheese, eggs, and buttermilk from refrigeration 1-2 hours before beginning.
Coffee Enhances Chocolate: The brewed coffee in the cake layers doesn’t create a coffee flavor—it deepens and intensifies the chocolate notes through chemical interaction with the cocoa compounds. Use decaffeinated coffee if caffeine is a concern.
Peppermint Extract Strength Varies: Different brands possess varying intensities. Start with 1 teaspoon in the cheesecake, taste the batter, and adjust upward cautiously. Peppermint can quickly overpower.
Storage Guidelines: This assembled cake keeps refrigerated for up to 5 days when covered loosely with plastic wrap or stored under a cake dome. The cheesecake layer maintains moisture in the chocolate portions beautifully. For longer storage, freeze individual slices wrapped tightly in plastic wrap and aluminum foil for up to 2 months.
Make-Ahead Strategy: The chocolate cake layers can be baked, cooled, wrapped tightly, and frozen up to one month in advance. The cheesecake layer similarly freezes well. Thaw both in the refrigerator overnight before assembling, then prepare fresh ganache for finishing.
Substitution Options: Replace peppermint extract with orange extract and add orange zest for a chocolate-orange variation. Alternatively, use espresso powder in the cheesecake for a sophisticated mocha version.
Preventing Cheesecake Cracks: Beyond the gradual cooling method described, you can place a shallow pan of hot water on the oven’s bottom rack during baking to create steam and maintain moisture balance.
Slicing Cleanly: Use a long, sharp knife dipped in hot water and wiped clean between each cut. This technique produces professional-looking slices that showcase the distinct layers beautifully.
Nutritional Information
Per serving (based on 12 servings):
- Calories: 620
- Total Fat: 38g
- Saturated Fat: 21g
- Cholesterol: 165mg
- Sodium: 420mg
- Total Carbohydrates: 65g
- Dietary Fiber: 3g
- Sugars: 48g
- Protein: 10g
Nutritional values are approximate and will vary based on specific ingredients used and portion sizes.
Frequently Asked Questions
Can I make this Chocolate Mint Cheesecake Cake without a springform pan?
Yes, though the springform pan simplifies cheesecake removal considerably. If using a standard cake pan, line it completely with parchment paper, creating a sling with long overhanging edges. After chilling, lift the cheesecake out using these parchment handles. Alternatively, bake the cheesecake in the same pans as your chocolate layers, though you’ll need to bake three chocolate layers total and use only two for assembly.
Why did my cheesecake layer crack despite following instructions?
Several factors contribute to cheesecake cracking beyond cooling method. Overbeating after adding eggs incorporates excess air that expands and contracts dramatically during baking. Overbaking causes the proteins to contract forcefully as they cool. Ensure your oven temperature is accurate using an oven thermometer, as even 25-degree variations affect results significantly.
Can I use natural peppermint flavoring instead of extract?
Absolutely. Peppermint oil, available at specialty baking stores, provides more concentrated flavor than extract. Use only 3-4 drops initially, as it’s approximately four times stronger than extract. Fresh mint leaves cannot substitute effectively in the cheesecake itself due to insufficient flavor transfer, though they make excellent garnish.
How far in advance can I assemble this cake before serving?
For optimal texture and presentation, assemble the Chocolate Mint Cheesecake Cake no more than 24 hours before serving. The ganache reaches perfect consistency after several hours of chilling, and the layers meld together beautifully. Assembling too far in advance can cause slight moisture migration between layers, though this doesn’t significantly impact flavor.
What’s the best way to transport this cake to an event?
Given its height and delicate structure, transport requires careful planning. Keep the cake refrigerated until the last possible moment. Place it on a non-slip mat inside a sturdy cake carrier, and drive carefully to minimize movement. If traveling more than 30 minutes, consider transporting components separately and assembling on-site, bringing your offset spatula and serving plate.
Can I reduce the sugar without affecting texture?
Sugar plays multiple roles beyond sweetness—it affects moisture retention, texture, and structure. In the cheesecake layer, you can reduce sugar by up to 25% without dramatic consequences, though the filling will be tangier and slightly less creamy. The chocolate cake layers are more sensitive; reducing sugar there will produce a drier, less tender crumb. Consider serving smaller portions rather than compromising the intended texture.
Conclusion
The journey to creating this Chocolate Mint Cheesecake Cake transforms you from home baker into dessert architect. Each layer represents a distinct skill set, and their combination demonstrates your command of fundamental baking techniques. The initial time investment rewards you with a spectacular dessert that generates genuine excitement among guests and family.
This recipe invites experimentation once you’ve mastered the foundational version. Consider the techniques learned here as transferable skills applicable to countless other layered dessert creations. The confidence gained from successfully executing this complex project will embolden your future baking endeavors.
I encourage you to embrace this challenge, trust the process, and share your results. Every baker brings unique touches to recipes, and your personal interpretation of this Chocolate Mint Cheesecake Cake will reflect your individual style. Photograph your creation, note any adaptations you make, and consider how you might personalize it for your next special occasion.