Raising chicks at home can be a rewarding experience that provides fresh eggs, natural pest control, and educational opportunities for families. With proper preparation, equipment, and knowledge of basic chick care, you can successfully raise healthy birds without the common stressors many beginners encounter.
Understanding Chick Development and Basic Needs
Newly hatched chicks require specific environmental conditions to thrive during their first weeks of life. The brooding period typically lasts six to eight weeks, during which chicks transition from complete dependence on external heat sources to developing full feather coverage and thermoregulatory capabilities.
Temperature regulation represents the most critical factor in early chick survival. Day-old chicks need an ambient temperature of 95°F (35°C) in their brooding area. This temperature decreases by approximately 5°F each week until chicks reach six weeks of age or until the ambient temperature matches the outdoor environment. You can observe chick behavior to assess comfort levels: huddling directly under the heat source indicates they’re too cold, while dispersing to the brooder’s edges and panting suggests excessive heat.
Setting Up an Effective Brooder System
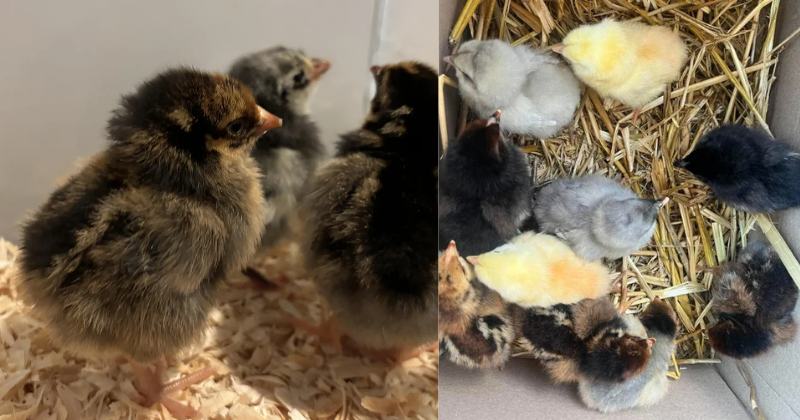
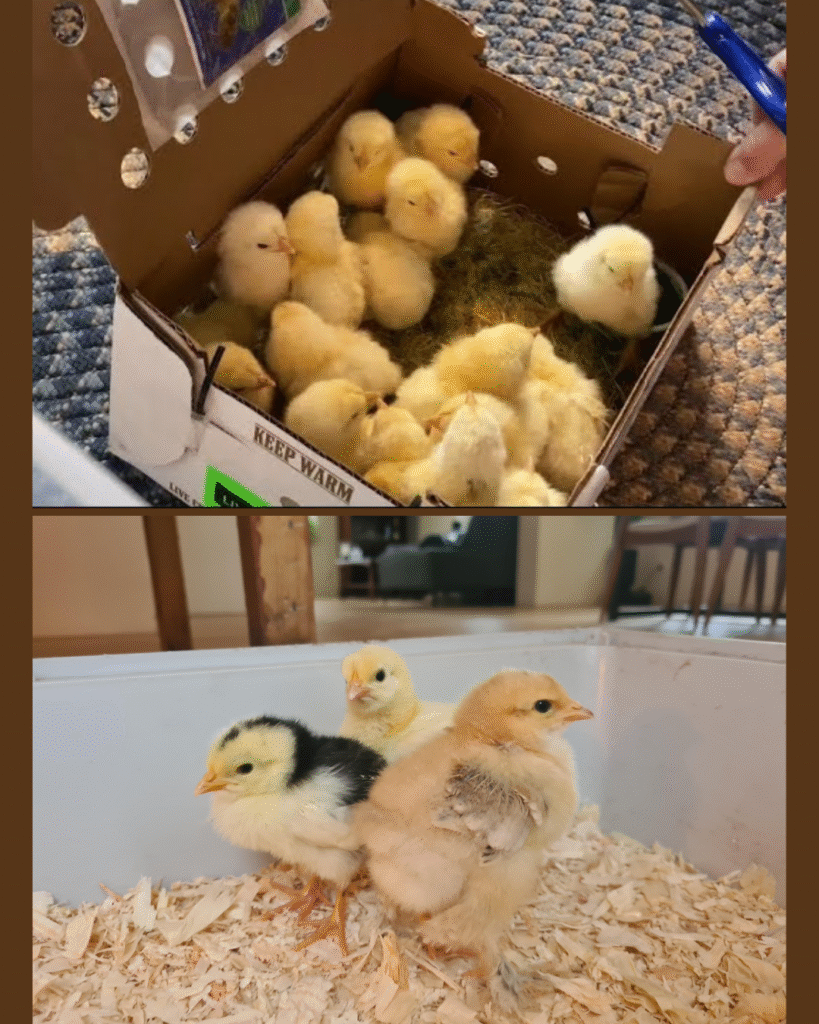
A proper brooder provides adequate space, warmth, ventilation, and safety for growing chicks. For the first two weeks, allocate at least 0.5 square feet per chick, increasing to one square foot per bird by week four. A standard cardboard box, plastic storage container, or purpose-built brooder works well for small flocks of five to ten chicks.
Heat lamps with red bulbs remain the most common heating method, though they pose fire risks if improperly secured. Position the lamp at one end of the brooder, creating a temperature gradient that allows chicks to self-regulate by moving between warmer and cooler zones. Alternative heating options include radiant brooders, which mimic a hen’s warmth and eliminate fire hazards, and ceramic heat emitters that provide warmth without light, maintaining natural day-night cycles.
Bedding material should be absorbent, non-toxic, and provide adequate traction to prevent leg deformities. Pine shavings work exceptionally well, while cedar shavings should be avoided due to aromatic oils that can irritate respiratory systems. Paper towels over the bedding for the first few days prevent newly hatched chicks from eating bedding material instead of feed. Some backyard poultry keepers notice that chicks occasionally develop « pasty butt, » where droppings stick to vent feathers, which requires gentle cleaning with warm water to prevent blockages.
Nutrition and Feeding Protocols
Chick starter feed, formulated with 18-20% protein content, provides complete nutrition for the first six to eight weeks. This crumbled or mashed feed contains balanced vitamins, minerals, and amino acids essential for rapid growth and skeletal development. Medicated starter feed includes coccidiostats that prevent coccidiosis, a common parasitic intestinal disease, though unmedicated feed works well when chicks receive coccidiosis vaccination or when raising organic birds.
Water accessibility requires careful management during the first weeks. Chicks can drown in deep water containers, so use specialized chick waterers with narrow drinking channels or place marbles in shallow dishes to reduce water depth. Check waterers multiple times daily, as chicks kick bedding into water, requiring frequent cleaning and refilling. Fresh, clean water supports proper digestion, thermoregulation, and overall health.
Grit becomes necessary when introducing treats or anything beyond commercial starter feed. Chicks lack teeth and require small stones or commercial chick grit in their gizzards to grind food mechanically. For chicks on starter feed alone, grit isn’t essential as the mashed feed requires minimal grinding. However, once you introduce treats like mealworms, greens, or scratch grains, provide appropriately sized grit in a separate container.
Health Monitoring and Common Challenges
Observing chick behavior daily helps identify health issues before they become serious. Healthy chicks appear alert, active, and maintain steady eating and drinking patterns. Lethargy, labored breathing, drooping wings, or isolation from the group indicate potential problems requiring attention.
Respiratory infections can develop in poorly ventilated brooders or those with excessive ammonia buildup from dirty bedding. Ensure adequate ventilation without creating drafts that chill chicks. Change bedding when it becomes damp or emits strong odors, typically every two to three days initially, increasing frequency as chicks grow and produce more waste.
Pasty butt affects approximately 20% of chicks, particularly during the first week. This condition occurs when stress, temperature fluctuations, or digestive issues cause droppings to adhere to vent feathers, potentially blocking waste elimination. Gently soften dried material with warm water and carefully remove it without pulling feathers. A small amount of olive oil on the cleaned area can prevent recurrence.
Leg problems, including spraddle leg where legs splay outward, result from slippery brooder surfaces or nutritional deficiencies. Corrective measures work best when applied within the first few days. A hobble made from medical tape or a band-aid positioned around both legs at hip width helps legs develop proper positioning over several days.
Transitioning to Outdoor Living
Moving chicks outdoors requires gradual acclimation and appropriate weather conditions. Begin introducing outdoor time during warm, dry weather when chicks reach three to four weeks old and have developed significant feather coverage. Start with 30-minute supervised sessions in a protected outdoor enclosure, gradually extending duration over several days.
Full-time outdoor housing becomes viable when chicks no longer require supplemental heat, typically around six to eight weeks depending on breed, season, and climate. Heavy breeds with dense feathering tolerate cooler temperatures better than lighter Mediterranean breeds. Night temperatures consistently above 50°F (10°C) generally indicate safe transition timing for most breeds.
The outdoor coop should provide four square feet per bird inside the coop structure and ten square feet per bird in the run area. Proper ventilation prevents respiratory issues while predator-proof construction protects your flock. Hardware cloth with half-inch mesh provides better security than chicken wire, which predators can tear. Elevated roosts, nesting boxes, and protected feeding and watering stations complete the essential infrastructure.
Integration with Existing Flocks
Introducing young birds to established flocks requires patience and strategic management. Chickens maintain strict pecking orders, and adult birds often display aggression toward newcomers. The « look but don’t touch » method works effectively: position young birds in a separate enclosure within the main run where all birds can see and hear each other without physical contact for one to two weeks.
Size matching improves integration success. Wait until young birds reach at least two-thirds the size of the smallest existing flock member before allowing direct contact. Provide multiple feeding stations, water sources, and hiding spots to reduce competition and give subordinate birds escape options.
Initial physical introductions should occur during evening hours when chickens naturally calm down before roosting. Supervise carefully during the first days of integration, intervening if aggression becomes excessive. Some pecking and chasing establish hierarchy, but persistent attacks or injuries require separation and slower reintroduction.
Breed Selection and Long-Term Planning
Different breeds offer varying characteristics regarding egg production, temperament, cold hardiness, and meat quality. Dual-purpose breeds like Plymouth Rocks, Orpingtons, and Wyandottes provide good egg production while maintaining reasonable size for meat production if desired. These breeds also display calmer temperaments suitable for families and small homesteads.
High-production laying breeds such as Leghorns, Australorps, and Rhode Island Reds can produce 250-300 eggs annually but may have more nervous dispositions. Heritage breeds offer genetic diversity, often superior foraging abilities, and natural brooding instincts, though they typically produce fewer eggs than modern production breeds.
Climate considerations influence breed selection significantly. Cold-hardy breeds with small combs, dense feathering, and heavy body mass tolerate freezing temperatures better than breeds developed in Mediterranean climates. Conversely, lightweight breeds with large combs often handle heat more effectively than heavy, densely feathered birds.
Sustainable Management Practices
Implementing rotational grazing systems maximizes nutritional benefits while minimizing parasite loads and environmental impact. Mobile coops or chicken tractors allow regular movement to fresh ground, providing access to insects, greens, and seeds while distributing manure as natural fertilizer. This practice reduces feed costs while improving soil health in garden areas.
Composting chicken manure creates valuable soil amendments for gardens and landscaping. Fresh chicken manure contains high nitrogen levels that can burn plants, but properly composted material becomes an excellent balanced fertilizer. Mix manure with carbon-rich materials like leaves, straw, or wood shavings in a 1:3 ratio, maintaining moisture and turning regularly until the material reaches a stable, earthy state over three to six months.
Seasonal adjustments help maintain flock health and productivity. Summer management focuses on heat stress prevention through shade provision, adequate water access, and potentially frozen treats. Winter care emphasizes maintaining dry conditions, preventing frostbite on combs and wattles, and ensuring water doesn’t freeze. Egg production naturally decreases during winter due to reduced daylight hours, though supplemental lighting can maintain production if desired.
Economic and Practical Considerations
Initial setup costs vary considerably based on flock size and infrastructure quality. Budget approximately $15-25 per chick for the bird itself, vaccination if desired, and early-stage feed. Brooder equipment adds $50-150 for heat lamps, waterers, feeders, and initial bedding. Outdoor housing represents the largest expense, ranging from $200 for simple DIY structures to several thousand dollars for custom coops with attached runs.
Ongoing expenses include feed, which typically costs $15-20 per 50-pound bag of layer feed, with each bird consuming roughly a quarter pound daily. Annual costs per bird generally run $50-75 including feed, bedding, supplements, and minor healthcare supplies. Egg production offsets these costs partially, with good layers producing $100-150 worth of eggs annually at retail organic egg prices.
Time investment stabilizes after the initial brooding period. Daily tasks including feeding, watering, egg collection, and observation require 15-30 minutes for small flocks. Weekly tasks like bedding changes and feeder cleaning add another 30-45 minutes. Seasonal tasks including coop deep cleaning, fence maintenance, and health assessments occur quarterly or biannually.
Raising chicks successfully combines proper environmental management, attentive observation, and consistent care routines. The process becomes increasingly straightforward with experience, and the rewards of fresh eggs, natural pest management, and the satisfaction of animal husbandry make the initial learning curve worthwhile for many homesteaders and backyard poultry enthusiasts.